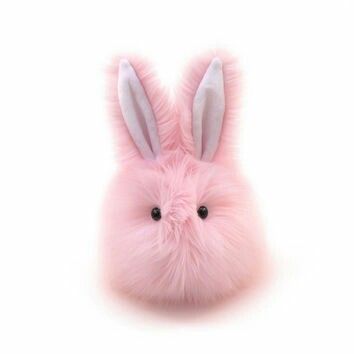
Get cheap stuffed rabbits made
Making a stuffed bunny is a cute and fun craft project. Here is a detailed tutorial on how to make your own stuffed bunny.

Materials to prepare:
- Fabric : Felt, cotton, or any soft fabric you like (color of your choice).
- Stuffing : To stuff inside stuffed animals.
- Needle and thread : Sewing thread that matches the color of the fabric.
- Scissors : Used to cut fabric.
- Tape measure and sewing chalk : For measuring and marking on fabric.
- Sewing machine or hand needle : Depends on your preference.
- Buttons or stuffed animal eyes : To make eyes for the bunny.
- Fabric glue (optional) : To attach small details if you don't want to sew.

Steps to follow:
Design and cut sample :
Draw or print out the rabbit design on paper. The design should include parts such as the rabbit's body, head, ears, tail, and other small details if needed.
Place the pattern on the fabric and trace it with tailor's chalk. Cut the fabric along the drawn lines.

Cut fabric :
- Cut two pieces of fabric for the rabbit's body (one front and one back).
- Cut two pieces of fabric for the bunny's head (one front and one back).
- Cut four pieces of fabric for the bunny ears (two ears on each side).
- Cut two pieces of fabric for the bunny tail.

Sew small details :
Sew the bunny ears together, leaving a part open to turn right side out and stuff with cotton.
Sew the bunny tail together, leaving a part open to turn right side out and stuff with cotton.

Assemble and sew the rabbit head :
Place the two rabbit head pieces on top of each other, right sides inside.
Attach the ear pieces to the corresponding positions on the rabbit's head, leaving the ear opening between the two head pieces.
Sew along the top edge, leaving a gap for stuffing.
Turn the rabbit's head right side out through the gap left.
Stuff the bunny's head with cotton and sew the remaining space closed.

Assemble and sew the rabbit body :
Place the two rabbit body pieces on top of each other, right sides facing in.
Attach the rabbit's head to the corresponding position on the rabbit's body, leaving the open part of the head between the two body pieces.
Attach the rabbit's tail to the corresponding position on the rabbit's body, leaving the tail opening between the two body pieces.
Sew along the body edge, leaving a gap for stuffing.
Turn the rabbit's body right side out through the gap left.
Stuff the rabbit with cotton and sew the remaining space closed.

Finishing and decoration :
Attach button eyes or stuffed animal eyes to the marked locations.
Use black thread to embroider or draw with a marker on the fabric to create the nose, mouth and other details.
Double check the seams to make sure they are secure.
Trim off any excess thread and iron the stuffed animal if necessary.

Tips:
- Fabric Selection : Felt or soft cotton are good choices for making stuffed animals because they are easy to sew and durable.
- Stuff evenly : Make sure to stuff the stuffed animal evenly so there are no dents or bumps.
- Safety : If making stuffed animals for young children, make sure small details like eyes and buttons are securely attached.
With these steps, you can make your own cute and unique bunny stuffed animal. Good luck with your craft project!

Contact Info
Nhận xét
Đăng nhận xét